1. Image placement and fitting
Here we are going to create an image frame (which is the outside boundary of the displayed image), then import an image to fill the frame, and explore how well InDesign can size the image and the image frame — independently.
Download the class material from qoolcat.com/down/indesign-3.zip.
▷ In InDesign, create a new A4 portrait document.
▷ Create a rectangle frame using the Rectangle Frame Tool F.
▷ From the Control Panel make the frame Width 150mm and Height 100mm and place this frame approximately in the middle of the document.
▷ With the rectangle frame selected, place the image “belching.jpg“: go or ⌘D — and navigate to the file.
▷ This image is now placed within the boundary box.
▷ Reduce the document size (go ⌘- or pinch on the trackpad) so that it is a bit smaller than the workspace, as shown below.
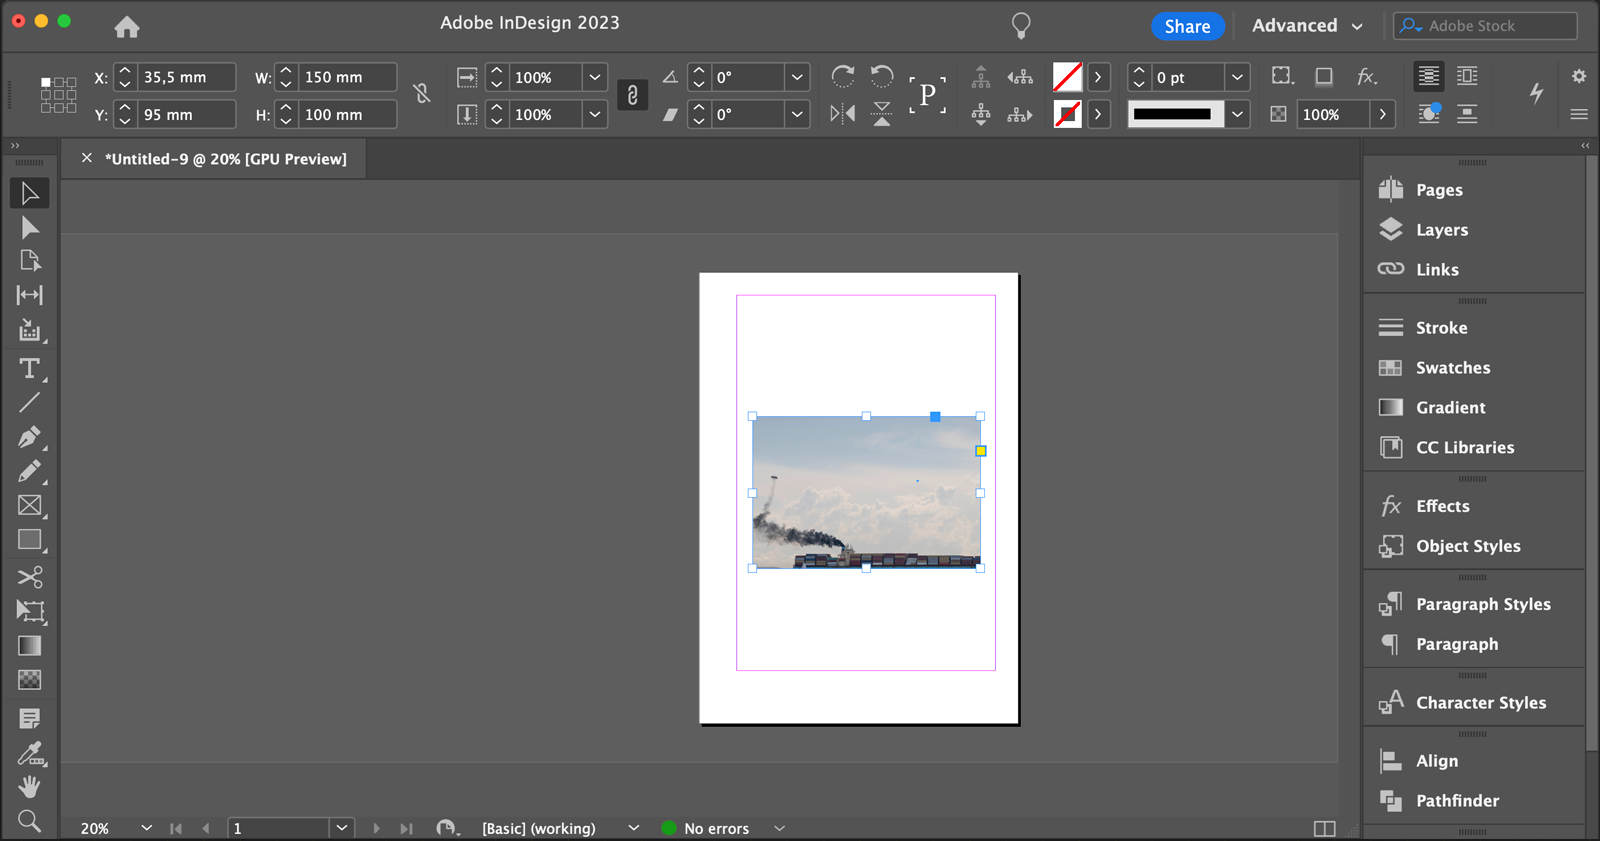
▷ The blue rim shows the boundary of the frame. Double-click on the image to show the boundary of the image — which is a brown rim.
▷ The ship is too large for the image boundary box and is badly placed (too low), so reduce the image size and place the ship in the middle of the image space. This you do by dragging from the corners of the (brown) image boundary — and holding down the [shift] key ⇧ while dragging so as to retain the image proportions. The result should look as shown here.

Manipulating the boundary box
▷ Click outside the boundary box so that nothing is selected.
▷ Now click on the image so that the (blue) boundary box is selected. Drag on one of the little rectangles on the image boundary to slightly resize the image boundary, like making it a little shallower.
▷ Place the cursor just outside a corner of the boundary box and you will see a double arrow symbol — then drag to rotate the image.
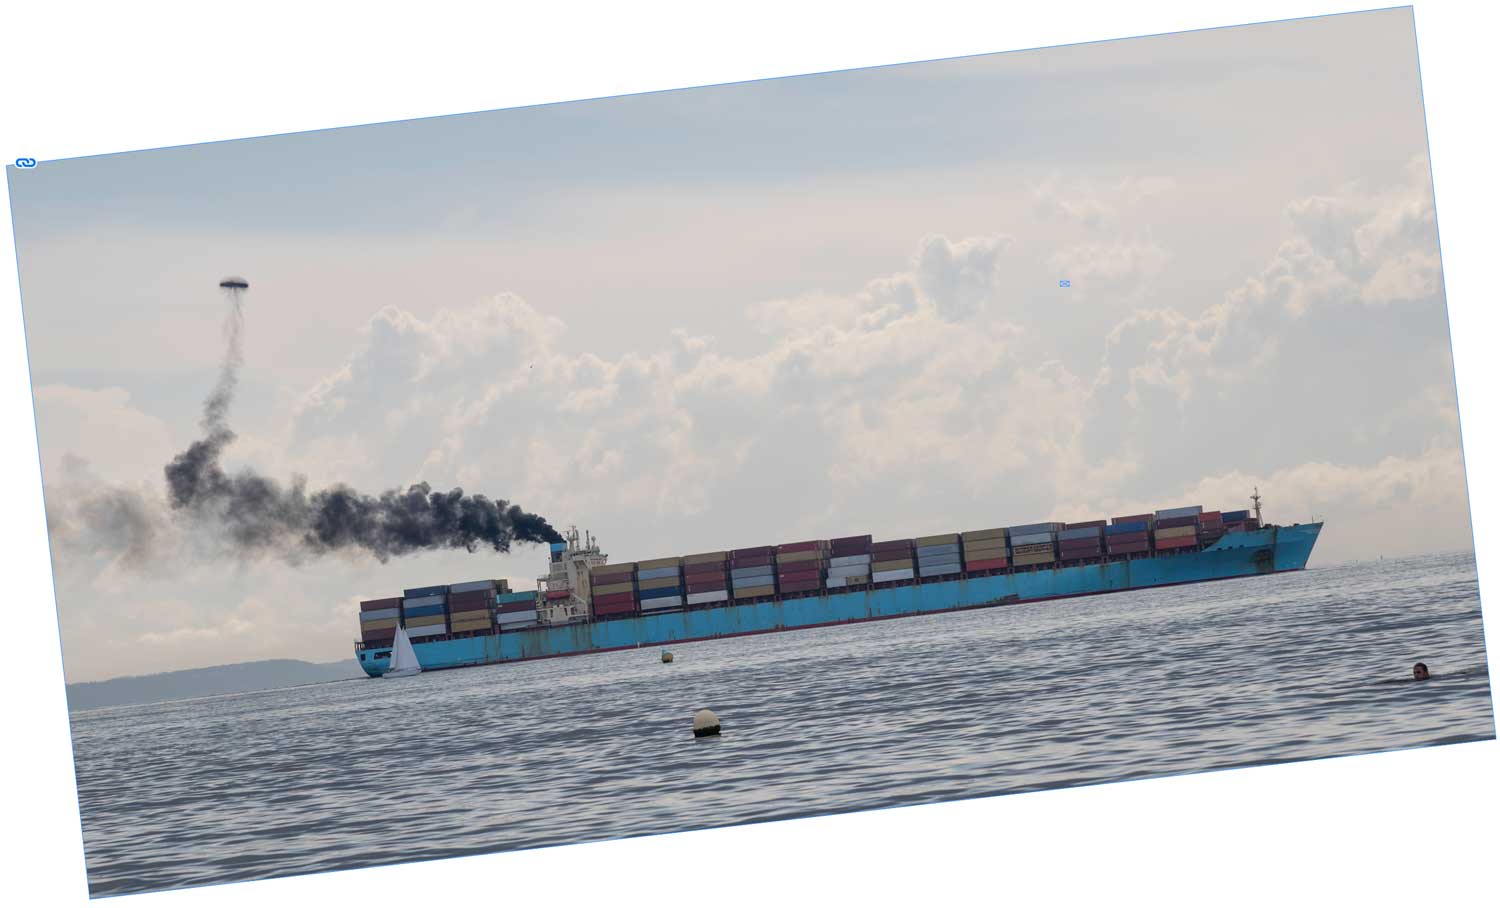
▷ Go ⌘Z so that the image is again horizontal.
▷ With the image still selected, click on the Direct Selection Tool A (the tool second from the top). Click outside the image to deselect, then click on the top-right corner to select just his point — you will see a small solid blue rectangle showing that you have selected this corner point.
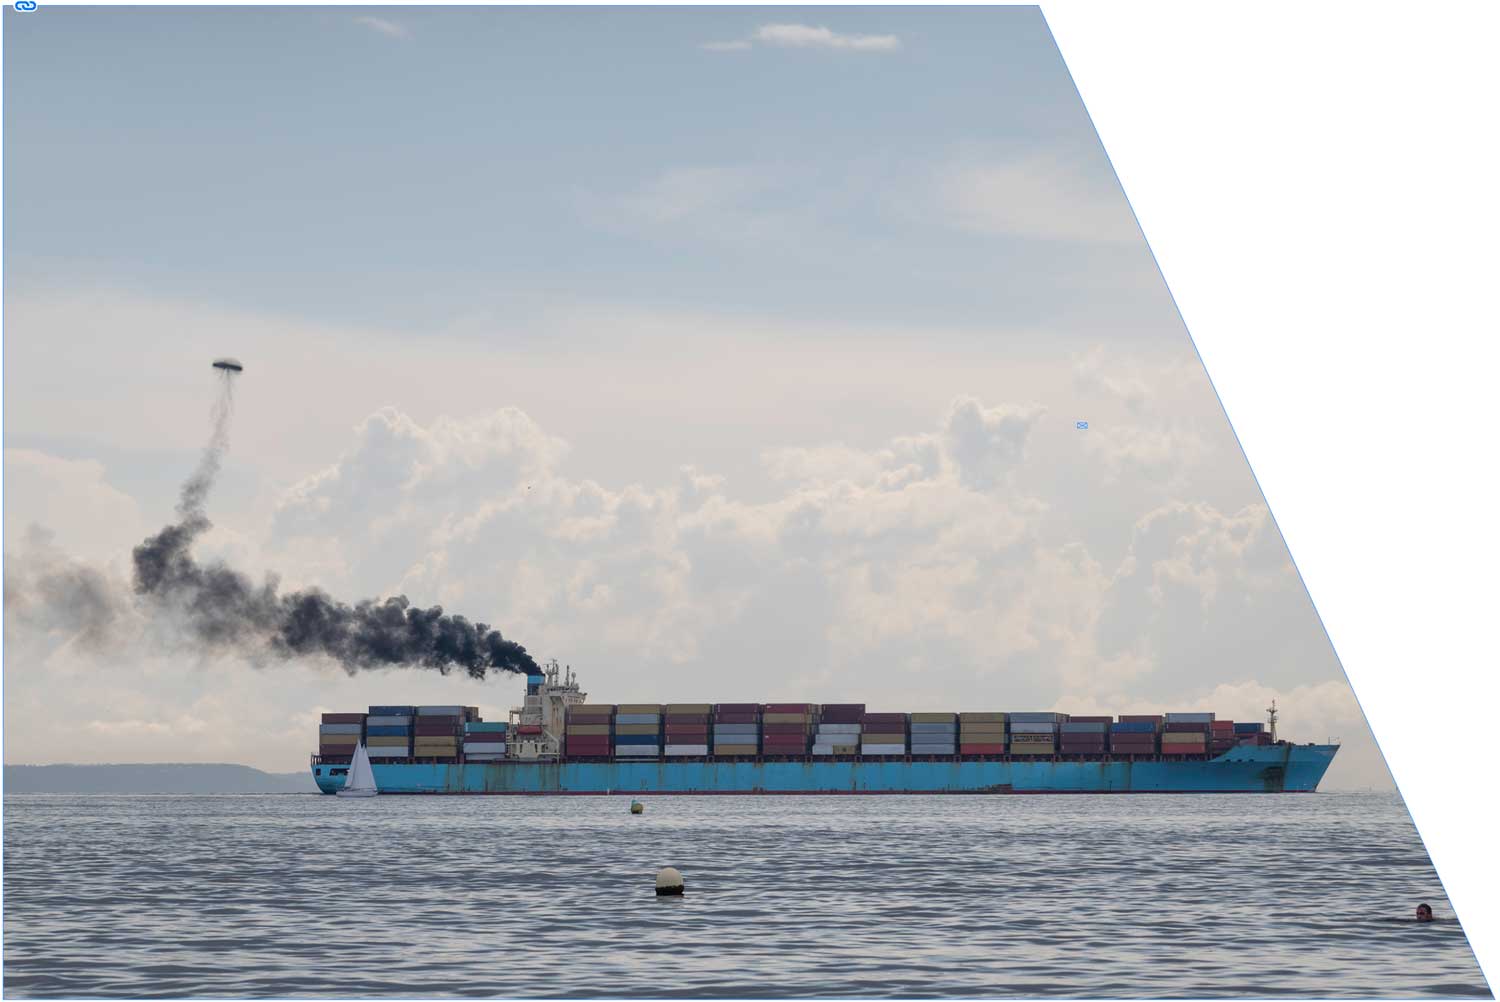
▷ Drag the corner to move just this point, and you can hold down the [shift] key ⇧ while dragging if you want only horizontal or vertical displacement — the boundary box is no longer a rectangle. See the fist example here.
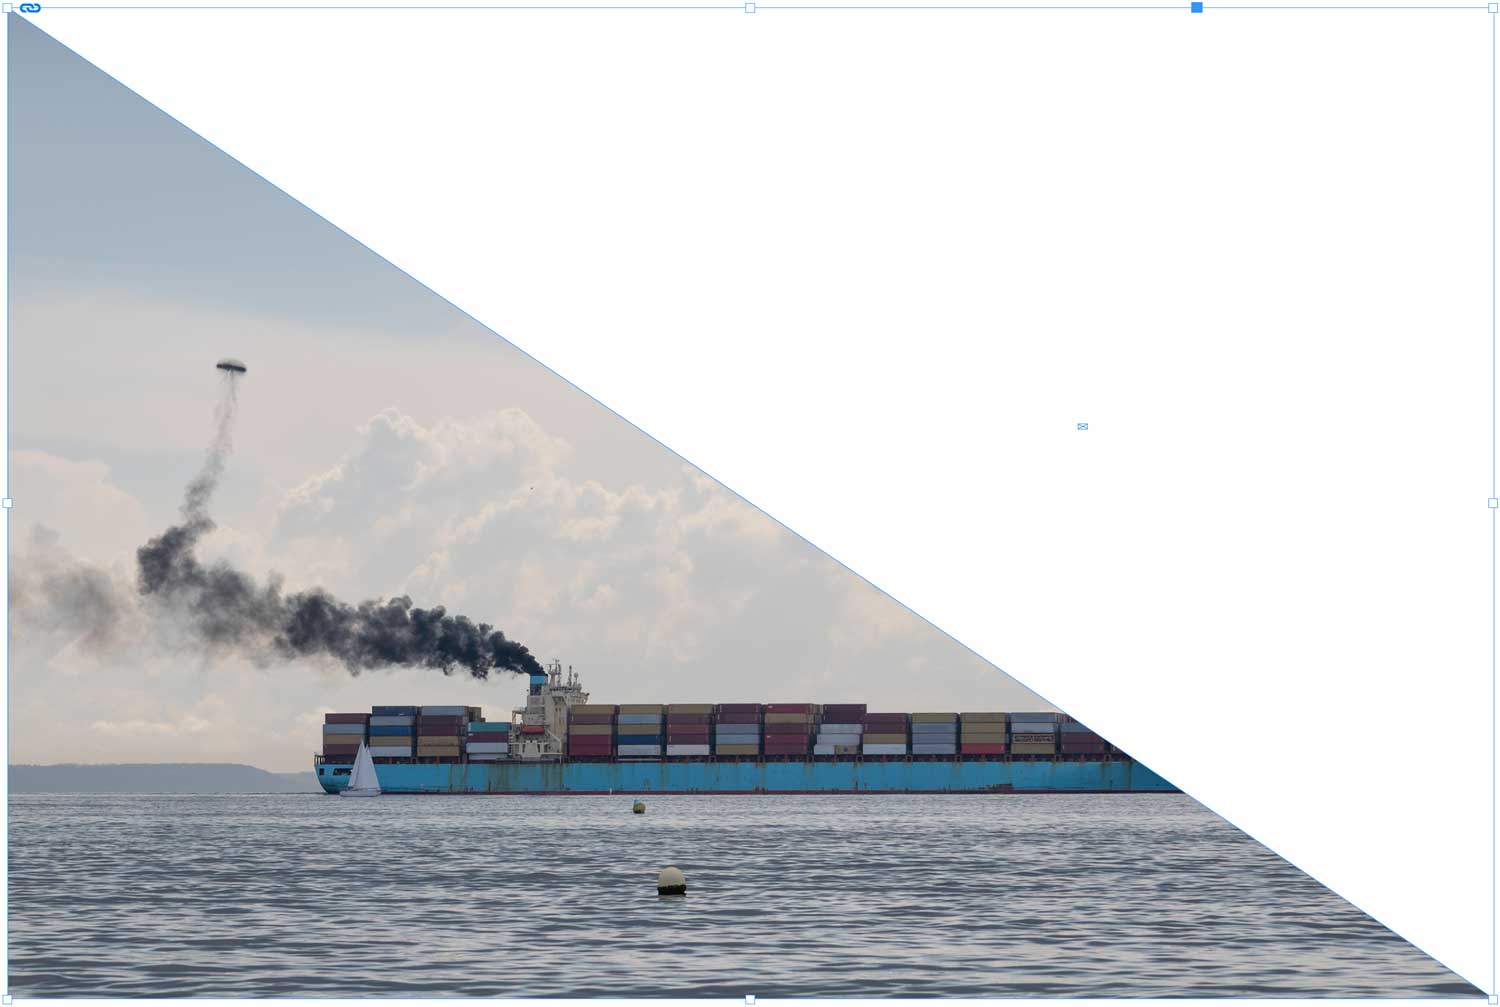
▷ You could also delete one corner to make a triangle boundary — try it. See the second example here.
▷ You can also add anchor points to make more complex boundary shapes, and this will be discussed later.
Resizing the image inside the boundary box
▷ Go ⌘Z so that the image is again rectangular and horizontal.
▷ With the image selected with the Selection Tool (not the Direct Selection Tool) double-click the image so that you see the (brown) image boundary box.
▷ Resize the image to your liking; experiment. Remember that you can retain the image proportions by holding the [shift] key ⇧ while you drag.
▷ Rotate the image by dragging just outside the (brown) image boundary corner.

It is important that you understand that you can separately manipulate (1) the image boundary box and (2) the image itself.
Here we have been resizing and rotating by dragging. You can accomplish the same by keying numerical values for the coordinates, size, and rotation, in the Control Panel.
Content and frame-fitting tools
▷ Again, go ⌘Z so that the image is again rectangular and horizontal.
▷ Select the image, and see if your computer monitor is large enough such that you can see icons in the Control Panel that look like what is shown here.
▷ If yes, then try each of these tools to see what they do.
▷ But, if your computer screen is too narrow to see the fitting tools, these same image/frame fitting tools can also be accessed via the menu, so go and look at the options.
▷ The fitting tool I most commonly use is , and can also be very useful in certain cases.

2. Object Fill and Stroke
Fill and stroke
▷ For creating simple shapes, the Rectangle Tool M, Ellipse Tool L, and Polygon Tool are grouped together in the toolbar.
▷ For a shape, the fill is the solid colour filling and the stroke is the outline.
▷ When you create a shape, the fill/stroke parameters are included in the Control Panel, including what is shown here, where the fill is transparent (the white rectangle with red diagonal), the stroke is 3 points thick, the stroke style is solid (the thick solid black line) and the object opacity is 100% — pretty obvious.

▷ More Fill and Stroke options can be found in the Workspace Panels, and these you can explore yourself.
▷ A gradient is just a type of fill (or swatch colour).
Line
▷ A line is just a special case of a stroke.
▷ You use the Line Tool \ to draw a line.
▷ Holding down [shift] key ⇧ while drawing a line constrains the line to being either horizontal, vertical, or at 45%.
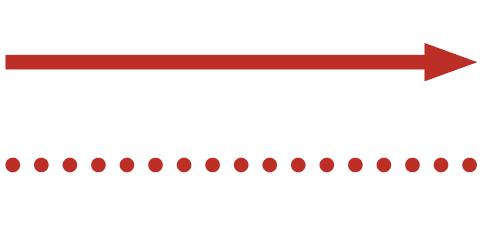
▷ As aforesaid, there are many options in the Stroke Panel. In the first example here we have an arrowhead at one of the line ends, and in the second example we have made the line dotted. And there are lots of different arrowheads, and you can even make your own stroke style.
3. Object distribution
▷ Create a new document in InDesign.
▷ Create several shapes. In this example I have created four green rectangles.
▷ Select all your newly created shapes: either click on one shape then hold down [shift] ⇧ while you select the rest, or drag an area to include all these shapes.
▷ Open the Align panel. If you do not see the Align panel in the panel workspace then go .
▷ What you can do with this Align panel is obvious, for example try aligning bottom edges, and distributing horizontally to the centres, and distributing to horizontal space (equally). Note that you can also specify the distance between the objects by clicking on “Use Spacing”. Experiment.
▷ Most of these tools are also available in the Control Panel bar, but there are a few more tools in the Align Workspace Panel.

Useful: To drag to create a copy of an object, select the object and then drag while pressing ⌥ or ⌥⌘ for copying horizontally or vertically. Try it.
Useful: To group objects together, select what you want to have grouped then go or ⌘G . Ungroup is ⇧⌘G.