While one can do much in Photoshop Camera RAW, and while Camera RAW is the best place for tweaking general settings and doing some basic adjustments, the main Photoshop space is where much of the action really is. With Photoshop you can combine multiple images, create composites, add special effects, and transform and distort images, for example.
1. Basic selection, deletion, fill, and adjustment
Download the class material from qoolcat.com/down/photoshop-2.zip.
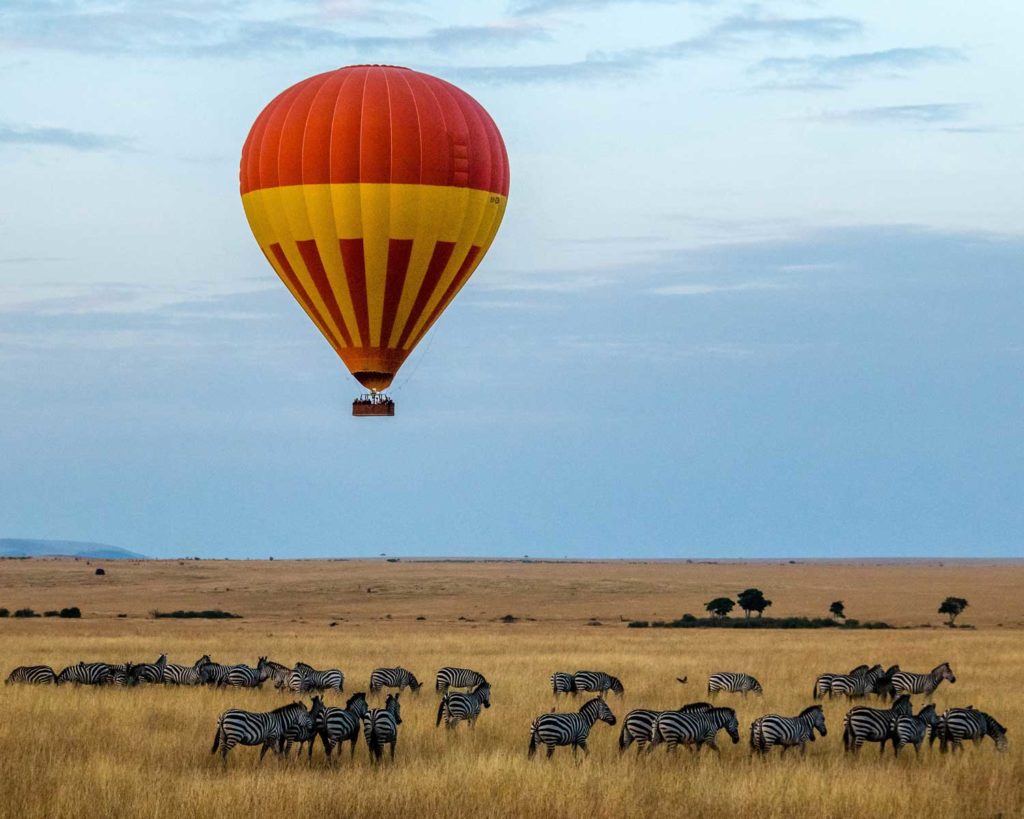
Open “1_hotair-balloon.jpg” in Photoshop (again, to open an image in Photoshop, right-click the image file then go ).
Again, if you are not already in the Photography workspace, go
Useful: the very bottom tool Change Screen Mode can be used to see the Photoshop space in full-screen which is useful because one is so often short of screen space. To escape full-screen, press the Escape key. Alternatively, press F to scroll through the screen mode options.
So, optionally, make your workspace full-screen.
Delete and Fill Selection; Patch Tool, Spot Healing Brush Tool…
Let’s try a rough-and-ready (crude) method to remove the balloon completely from the image. If this does not work we will try something more refined.
▷ Have the image fill the whole workspace: if you have an English keyboard go ⌘0 (command+zero) or else go . (Remember this.)
▷ Using the Rectangle Markee Tool M which is the second tool from the top (which might be behind the Elipse Markee), drag to create a rectangle to include the entire balloon including the basket.
▷ Then right-click and go — and you can see that Photoshop has successfully replaced the balloon with a realistic-looking sky. In this case the crude method worked.
Now let’s try to remove the background hill on the left of the image.
▷ Again, use the Rectangle Markee Tool to drag a rectangle, this time around the hill.
▷ And right-click and go — this time it did not really work so we try something else.
Undo twice by going ⌘Z twice, so that the hill is there and nothing is selected.
▷ Select the Lasoo tool L (third from top) and trace just around the hill to select this hill.

▷ Select the Patch Tool J (might be behind the Spot Healing brush tool). Drag the selection to the right, along the horizon, and release this when the removed section looks about right. And the hill is now successfully removed.

Let’s remove some of the trees and bushes in the middle background.
▷ Select the Spot Healing Brush Tool, and note that you see a circle indicating its size.
(Repeating myself ex Lesson 1: To change the size of the applied tool, hold down the two keys ⌃⌥ (control+option) at the same time: drag left-and-right to change the size and up-and-down to change the hardness. On an English QWERTY keyboard you can change the size simply by pressing the square brackets [ and ].)

▷ Adjust so that the Spot Healing Brush Tool size is about 80px and the hardness about 30%. Paint over some trees and bushes and note that these then disappear. If you do not like the final look then revert to the Patch Tool as described above.
And this should be the result…

Original photo by Sutirta Budiman on Unsplash
▷ In mid-2023, Photoshop introduced the Remove Tool, which can be found in the same group of tools as described above (Spot Healing Bruch Tool and Patch Tool). This Remove Tool is sometimes better. Try it: undo by going ⌘Z several times until you have undone the removal of the trees, bushes and small hill — and then do the same by painting with just this Remove Tool.

▷ New in Photoshop 2024 is Generative Fill, and let’s remove the small hill with this method. Again, undo (⌘Z many times) until the hill appears. Select the hill as before. From the floating window, click on Generative Fill, then Generate. Note that you have options in the Properties panel. More about Generative Fill in the next lesson.
Fill, Content-Aware Fill and Healing Brush Tool
To get rid of the balloon you used the Delete and Fill Selection functionality. By going and setting the Content-Aware option, you would have got a similar result. But sometimes you might want to tell Photoshop where to sample from when removing something, and then you use .
☐ This is best explained by looking at this short video.
To remove some of the trees and bushes you used the Spot Healing Brush Tool. But sometimes you might want to tell Photoshop where to sample from when doing this, and here the Healing Brush Tool is useful where ⌥ (option) plus click tells where to sample from. (Do not confuse the basic Spot Healing Brush with the more focused Healing Brush!)
☐ Please watch this video.
Object selection, and adjustment layer
Delete or your edited balloon image in Photoshop and re-open the original “1_hotair-balloon.jpg” image (or just press ⌘Z many times to get back to the beginning).
We are now going to select the ballon.
▷ Select the Object Selection Tool W, and make sure the Object Finder option in the Control Panel is selected. You might see a turning icon next to the Object Finder option. When this icon stops turning then Photoshop has identified the objects in the image, as best it can.
▷ Roll over elements of the image and you will see what objects Photoshop has identified, and note that it has done a particularly good job of identifying the sky and the balloon.
▷ Click on the balloon and see how Photoshop indicates that this has been selected.
But let’s rather select the balloon more precisely.
▷ Click on the downward arrow on the right of Select Subject in the toolbar, and select Cloud (Detailed Results) as shown here.

▷ Now click on the Select Subject and go OK when you get a “Discard current selection” warning — and the balloon is now even better selected.
We are now going to make everything except the ballon black and white, by applying an adjustment layer.
▷ Invert the selection by going or ⇧⌘I and now you see that everything except the balloon is selected.
In the Layers panel (remember that the panels are the items on the right of the Photoshop window), click on the Create a new Fill or Adjustment Layer icon which is the half-filled circle icon at the bottom of the panel, as marked here.
And look at all the options that you have!
Click on “Black & White” which is at about the middle of the pop-up.
And note that everything except the balloon is in black-and-white.

And note too that a new layer has appeared in the Layers panel as shown here. This new layer contains two icons: on the left the Layer thumbnail shows a black-and-white icon, on on the right the Layer Mask.
Note that the Layer Mask has the shape of the balloon in black. Black here means do not apply the layer adjustment — which is obvious because the balloon is still in colour meaning that the adjustment has not been applied.
▷ Now double-click the layer mask thumbnail (the small icon to the left of the layer mask thumbnail shown her in a green box) and a slider pop-up window will appear, this being the adjustment properties — indicating how much “blackness” is given to the shown colours.
▷ Experiment with the sliders, particularly the yellow (for the grass) and light blue (for the sky).

And this could be the final result. Note that the area just above the balloon basket might not be perfect — and you will learn later how to improve this.

▷ If you want to save this as a JPEG you would first need to flatten the image by going . If you might later want to make further adjustments, then saving, without first flattening, generates a Photoshop PSD file (.psd). A Photoshop PSD file is much larger than the equivalent JPEP file.
Quick Selection Tool; another Adjustment Layer
Sometimes an object is too obscure to be automatically selected by Photoshop, or you need to select just a portion of an object. There are several ways to do this and here we are going to use the most common, the Quick Selection Tool. We will then change the colour of the selection.
From the download folder, open “2_boy-with-rugby-ball.jpg” in Photoshop, and we are going to change the colour of the boy’s jersey.
Select the Quick Selection Tool which might be beneath the Object Selection Tool as shown here.

▷ Make the brush about 40px diameter and 80% hardness (as before, to change the brush size and hardness, hold down the two keys ⌃⌥ and drag horizontally and vertically).
▷ Brush on the jersey until the whole jersey is precisely selected. To subtract from the selection press ⌥ (option) and to add press ⇧ (shift). You will need to make the brush smaller to get into corners.
▷ When the selection is accomplished, click on the Create new fill or adjustment layer icon at the bottom of the Layers Panel as before (remember, that’s the icon with the half-filled-in circle) and apply Hue/Saturation….
▷ Experiment with the three sliders until you have a colour that you really like.
Let’s try another adjustment for a similar result. Go backwards by going ⌘Z many times until just the boy’s jersey is selected.
▷ Now apply the Selective Color… adjustment (very bottom of the popup). Experiment, for example working with the colour Blue, and the Neutral.

2. Some notes about selecting
Photoshop has become very good at auto-selecting objects, but nevertheless often one has to manually select something. Below we show how Photoshop can automatically select lots of objects within a single image and we will look at one way to modify an automatic selection.
In the first Photophot exercise we already used powerful auto-selecting tools within the Camera Raw Filter. Let’s do a short exercise within Photoshop proper.
Open in Photoshop “3_bookshelf.jpg”.
▷ Again, select the Object Selection Tool. Again, from the toolbar, click on the downward arrow next to Select Subject and select Cloud (Detailed Results). Now click on Select Subject — this offers more precision.
Roll over the various objects in the image, and you will see that Photoshop has done a pretty good, but not always perfect, job of identifying the objects.
Let’s quickly apply an adjustment to one object.
▷ Click on the mug, the object in the bottom row, second from right — and it is selected.
▷ Click on the Create new fill or adjustment icon at the bottom of the layers panel, and apply the Solid Color… adjustment.
▷ Make the solid colour bright red (how to do this is obvious).
▷ From near the top of the Layers panel, reduce the adjustment layer Opacity to about 30% and, for a slightly better effect, change the layer mode (the dropdown just to the left of Opacity) from Normal to Multiply.
…and you have quickly and easily changed the mug from being white to pink.
Let’s take a slightly difficult example.
▷ Make sure that the Background layer is selected in the Layers Panel, because this is the layer that we are working on.
▷ Select the pitcher, that is the object in the second row, second from left.
▷You can see that the selection is imperfect.
▷Select the Quick Selection Tool as before.
▷Use ⌥ and ⇧ to subtract and add as before, and make the selection more precise.
▷To have a straight base for the selection use the Polygone Lasso tool while holding down ⌥ to subtract, as is shown here.
▷ When you are satisfied with the selection, apply the Solid Color… adjustment layer as above, but make the object blue instead of red.


Original photo by Jason Leung on Unsplash
When selecting, the last line of defence is the Pen tool — where you manually trace a shape. The Pen tool is useful in Photoshop, Illustrator and InDesign, and is discussed here later.
3. Selection by rubbing out
When there is a lot of detail such that it is difficult to select what you want to change, you can look for other solutions. For example, you can apply a change to the whole image, then mask out the change on the entire image with a masking layer, and then rub out the parts of the mask where you want to apply the change.
Open “4_lady-with-stripes.jpg” in Photoshop. We are going to change the shirt’s red stripes to green.
▷ From the Layers Panel, apply the Hue/Saturation… adjustment layer.
▷ From the Hue/Saturation Properties panel, select the hand-with-index-finger icon as marked here, and then click on a typical red within the shirt’s red stripes.
▷ This sets the target colour to adjust, as is indicated here at the bottom of the shown panel. You could manipulate these settings by dragging, but this is often not necessary.
▷ Drag the Hue slider until the stripes are a pleasant green (you might or might not want to adjust the Saturation and Lightness too). But other parts of the image have been adversely affected.
▷ So, you are now going to paint (to brush) parts of the mask black, in order to mask out the part of the image which is not the shirt.

▷ In the tools panel, near the bottom, you see the Colors tool, which looks like this…

▷ If the two shown colours are not black and white, click on the tiny top-left white-square-on-black-square icon shown above, for the default colour; then click on the two-arrows icon until you see black in the foreground as shown above. This means that you will be painting (brushing) with the colour black.
▷ Check that the mask icon (the white rectangle) in the Layers panel is still selected; select the Brush Tool B; make the brush really large like 500px with 95% hardness.
▷ Brush over the image, everywhere except the shirt; you should make the brush smaller when you need more precision; if you make a mistake you can paint with white (click on the two-arrow part of the icon as shown above to switch colour).
When you are done, the Adjustment Layer (with mask) in the Layers Panel would look like this…

…and the mask is applied to only the shirt, with the mask not being applied in the black area.

Original Photo by Manny Moreno on Unsplash
4. Straightening
Straightening is something one often needs, which is why I show three methods here. In the following example we straighten a picture in a picture frame. Often I straighten a building to make it seem that it was photographed from further away.
Open “5_paris-postcard.jp” in Photoshop — we are going to vertically and horizontally straighten the edges of the picture frame.
Method 1: free transform
▷ If no rulers are showing at the edge of the workspace then go or ⌘R.
▷ Size the image to be a little smaller than the workspace.
▷ Drag from the top ruler to roughly the top of the picture frame; then separately drag from the top ruler to the bottom of the frame; drag from the left to the same vertically — this makes the vertical and horizontal guides (shown here in blue).
▷ Go then or go ⌘A then ⌘T.
▷ While pressing the ⌘ key, drag the image corner points until the frame corners are aligned with the blue guidelines. Be careful not to substantially change the proportions of the image.
▷ Crop the image a little, using the crop tool, to remove the white edge space.
The frame is now straightened.


Method 2: within Camera Raw Filter
An alternative really quick way to do this, albeit with less control…
▷ Go back to the beginning, then go .
▷ Open the Geometry panel (second from top right thumbnail — looks confusingly like a crop tool!), and click on Guided (as shown here), and drag two lines one each along each of the vertical frame edges; then do the same for the horizontal.
▷ Click “OK”. Easy.
This is the method I most commonly use because I am anyway starting in the Camera Raw Filter when I am adjusting images.

Method 3: Perspective tool
Yet another easy way to both crop and straiten is to use the Perspective Crop Tool (C, usually under the Crop Tool), as shown here. How to apply this should be obvious to you.

5. Adjustment presets
Photoshop has a library of adjustment presets.
Open “1_baboon.jpg” in Photoshop.
Select the Adjustments workspace panel, then open the Adjustment Presets tab.
Experiment, by rolling over the adjustment icons!