This exercise includes some revision and some new stuff.
Download the class material from qoolcat.com/down/photoshop-ex1.zip.
Open the image “paris-18.jpg” in Photoshop.
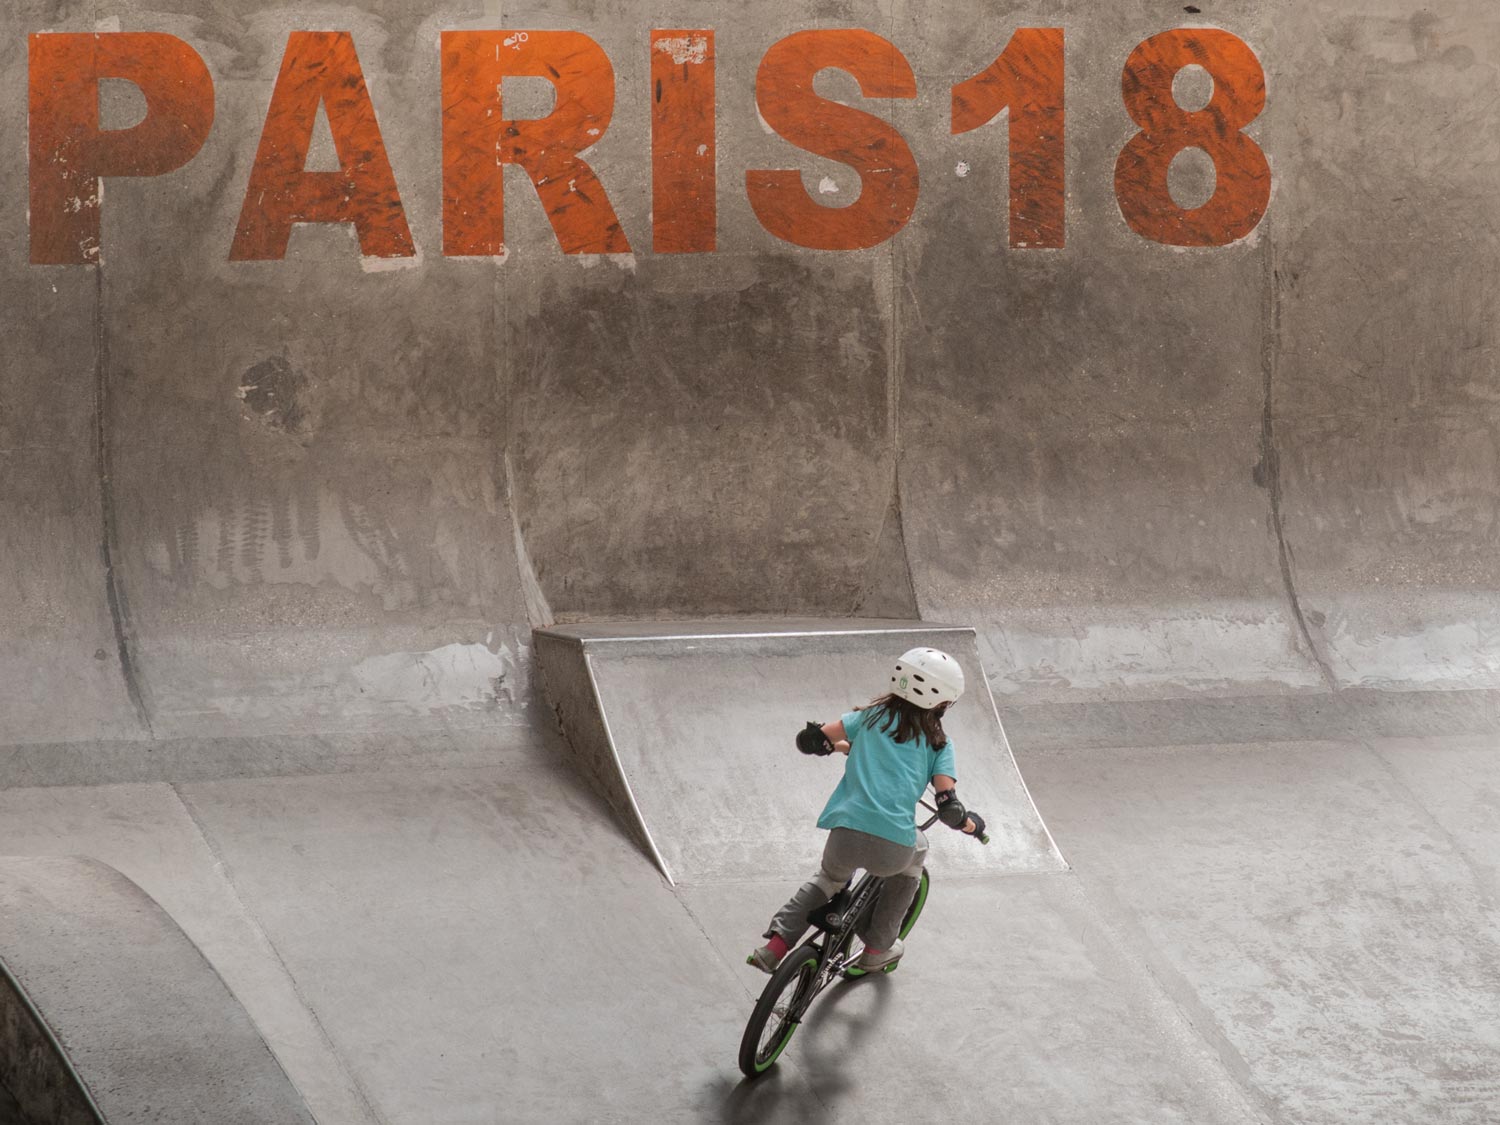
Straighten, and crop the image (use the crop tool as before), with a 4:3 crop ratio, such that the image looks like the one below.

Do some adjustments: open the camera RAW filter — go .
Correct the white balance (hint: the helmet is white): take the white balance tool, the pipette (in the “Color” panel), and click it on the helmet.

The bottom of the image is overexposed, and we are going to correct this with the graduation filter. Click on the Masking tool — on the right near the top.

Click on Linear Gradient.
And drag a vertical line from the base of the photo to about two-thirds upwards (that is to about one-third from the top of the image).
Reduce exposure with the exposure slider. You can also re-position the graduation tool position by dragging the endpoints.
Stop when everything looks about right — to get back to general settings, click on the slider tool as shown here. Play with the general settings until the image looks even better.

Save the image if you want to. Close the file.
Optionally: open the camera raw image (“paris-18-RAW.dng”) in Photoshop. Note that this opens to an interface that looks much like the Photoshop Camera Raw Filter — but here a corp tool is included in the tools section on the right. Accomplish the same as above. Easy. Doing adjustments with a RAW image has advantages over JPG, as I explained in my Introduction to Photoshop lesson — you might notice that you have a better dynamic range when working with this RAW image.